Planning to install your own bathroom? Here’s a guide on how to fit a bath in your new bathroom renovation. We do always recommend using a professional bathroom fitter to ensure it is plumbed correctly.
This bath installation guide will look at fitting a straight bath which is one of the more common types of baths, often made from acrylic.
You will need…
· Wrench
· Hack saw
· Drill with a hole cutter
· Pencil
· Pipe cutter
· Sealant and gun
· Spirit level
· Set of screwdrivers
· Tape measure
Checking your new bath
As soon as your bath is delivered open up the packaging and check it for damage or faults. The sooner you report these to us the quicker we can to arrange repairs or replacements. Your bath should come with: the bath tub itself, the feet, wall brackets and handles if provided. Depending on your order you may need to purchase bath waste and taps. Our bathroom sales team can help with this.
Estimated time to fit a new bath: 1 day
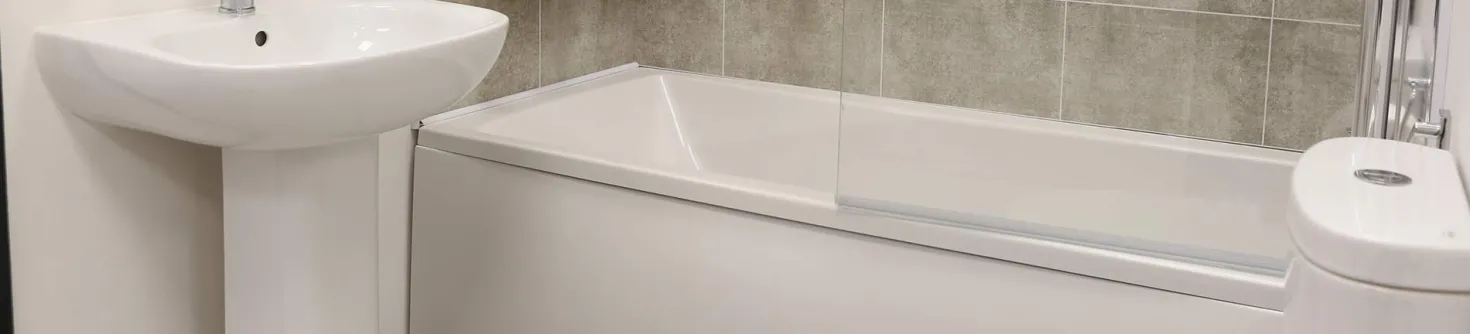
Fitting a Bath
- Make sure you place your bath on a level surface
- Remove the bag or box with your fittings – this might be attached to the underside of the bath so have a good look around for this. Make sure everything is there.
- Remove the protective cardboard and plastic. You can choose to leave this on until later so your bath has extra protection whilst your putting it together. Might be useful if you have a small space and don’t have a lot of room to work.
- Check your new bath tub thoroughly. If you have any queries or concerns then call our team ASAP so they can help resolve it. Do not fit the bath if you’re unhappy with something or there is a fault.
- If the bath has handles then fix these on now.
- Turn the bath upside down and fix the brackets to the underside of the bath tub. The feet should then attach to this bracket.
- Use your spirit level to make sure that the legs are the same height.
- Stand the bath rub upright – get help for turning the bath so it doesn’t slip and break as you turn it.
- Place the bath against the wall where it will be situated. Get your spirit level out again to check it’s level and adjust the height of the legs to suit.
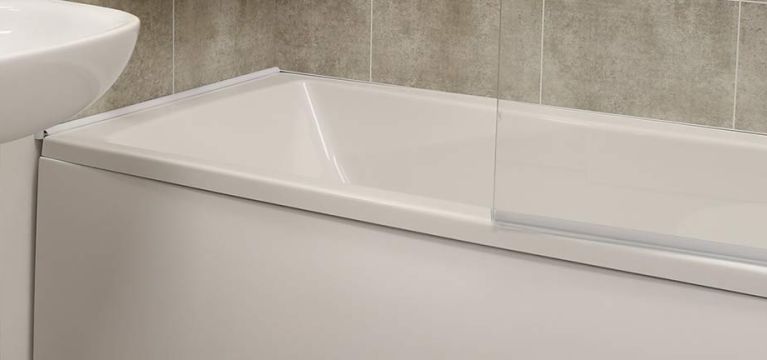
- Move the bath away from the wall and attach the wall fixing brackets to the side of the bath.
- Fit your bath taps. We’ve written a separate guide on how to fit bath taps.
- Fit the bath waste into place, there’s washers provided for this. A small amount of silicone can help keep this watertight.
- Place the overflow into position.
- Now you can place the bath back against the wall and use your screwdriver to secure it into the brackets you attached earlier.
- The next step is to have the bath plumbed in and sealed – this part should be done by a professional plumber. Doing the job yourself can save money but there are some things best left to the experts.
Tips:
· Many bathroom fitters will fit a wooden frame to support the bath and stop it from flexing when occupied. It’s better in the long term and means a higher quality finish.
· Fit your bath BEFORE tiling the bathroom walls. This ensures a watertight seal. There are some exceptions to this, such as when the wall behind the bath tub is exposed.
· Make sure your bathroom fitter fills the bath tub with water to make sure it doesn’t bend or pull away from the wall.
 Kayla Wilson