Planning to install your own toilet? Here’s a simple DIY guide on how to fit a toilet in your new bathroom renovation. We do always recommend using a professional bathroom fitter to ensure it is plumbed correctly.
If you are reading this, then it is likely you have already purchased your toilet. Read our toilet buying guide for help on choosing the right one, if you haven't yet decided.
Installing a toilet requires very little tools and with modern pans you’ll find it’s easier than ever. Here's a list of the tools you will need to install a toilet, as well as some extras that may come in handy.
If you’re installing a toilet from scratch or fitting toilets that have cisterns (tanks) which aren’t connected directly to the pan; including wall hung toilets and traditional high level toilets, you might require some additional plumbing tools for these types of toilets such as:
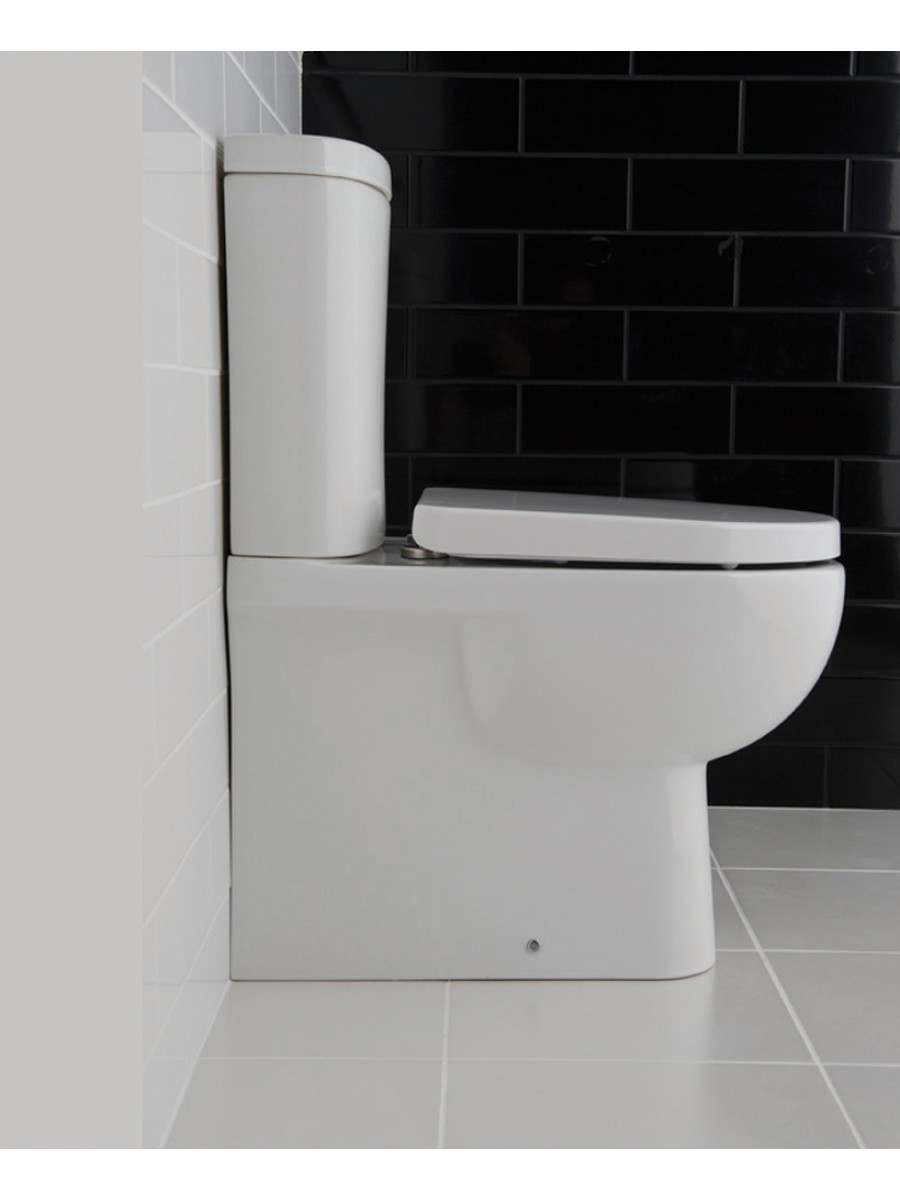
Before you install the toilet, check the manufacturer's instructions that came with the toilet. These steps below are a ‘how to’ to help you fit a closed coupled toilet to an existing location. If you are unsure, please consult a plumber or an expert to help you. A close coupled toilet is one of the most common type of toilet you’ll find in bathrooms up and down the UK. The cistern is situated directly above the pan and is “closely coupled” together – hence the name. In smaller bathrooms or cloakrooms, some toilet dimensions are even smaller make optimum use of space.
It may sound obvious!
Whether you’re fitting your old toilet back again after removing it or installing a brand new toilet from scratch, you’ll need to measure and mark for the drill holes to secure your loo. If your toilet has an outlet underneath (rather than at the back of your toilet) remove the soil cover and add the new wax ring.
Once the toilet is connected to the soil pipe it’s time to secure it to the floor by screwing in the bolts. Screw each bolt in half way to begin with and then carefully tighten each one up. Be gentle not to over-tighten these bolts as it can crack the toilet pan.
Note - You will want to create a seal around the base of the toilet pan with silicone, but before you do this, install the cistern and only seal the toilet to the floor once everything has been checked.
When you unpack your cistern you will find all the connections, screws, bolts and bits required for installation, including a seal. Most cisterns have a way of being fixed to the wall so check your cistern and grab a tape measure.
The top of your toilet pan will have a hole (usually in the centre) where the water will pass from the cistern into the pan when you flush it. Place your seal on top of this hole. Now take your cistern and carefully position it over the pan and ensure all the screws line up. Now take your nuts/ wingnuts and tighten the screws which hold the cistern to the pan; this can be a little fiddly. The cistern will need fixing to the wall purely for keeping the cistern in place.
Connect the water pipe to the cistern and using a wrench, tighten up until it’s nice and secure. Then you’ll need to connect it to the toilet using the nuts and washers provided. Adding a small amount of sealant where the bolt sits against the cistern will add an extra level of waterproofing.
Once the toilet and cistern is fixed in place and secure, switch the water back on and wait for the cistern to fill. Ensure there are no leaks from the cistern and then flush the toilet. Check around the seals for any leakage and have some old towels handy should there be any problems.
That’s it, your toilet installation is complete!
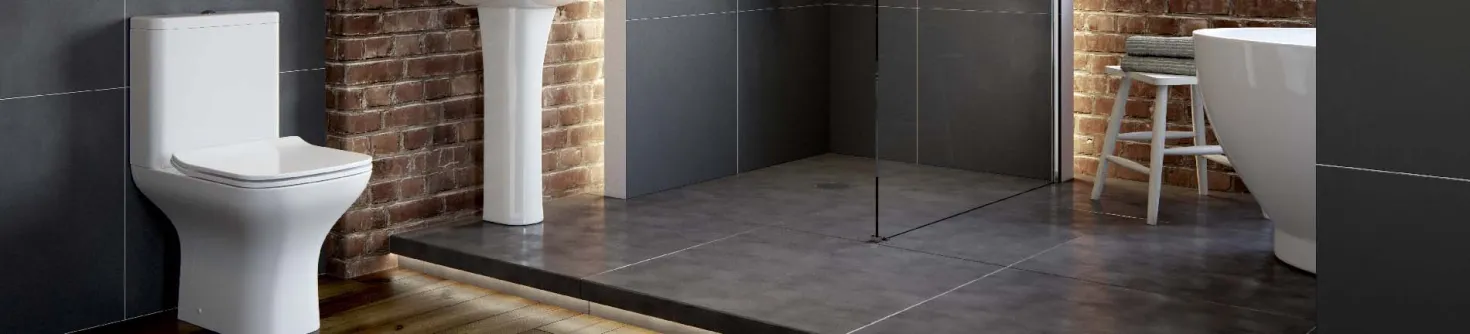
Need more advice and expertise on your bathroom designs? Visit our Bristol Bathroom Showroom where our experts can help you create your new bespoke bathroom with our Planning & Design Service
What to consider before you buy your new bath To find a bath that is comfortable and practical to your needs, think about who will be u...
If you're planning your new bathroom and need to save a bit of money then fitting your own bath taps will certainly help. However, we always re...
Gardiner and Sons Co Ltd registered address Gardiner Haskins, 1 Straight Street, Broad Plain, Bristol, BS2 0FQ, registered in England.
Company registration number: 00039402 VAT no. GB302974367