Kayleigh Jenkins
Digital Marketing Officer
Kayleigh Jenkins
Digital Marketing Officer
We would always recommend using a professional fitter for this type of project.
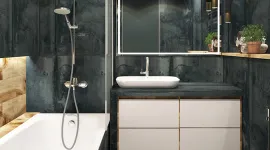
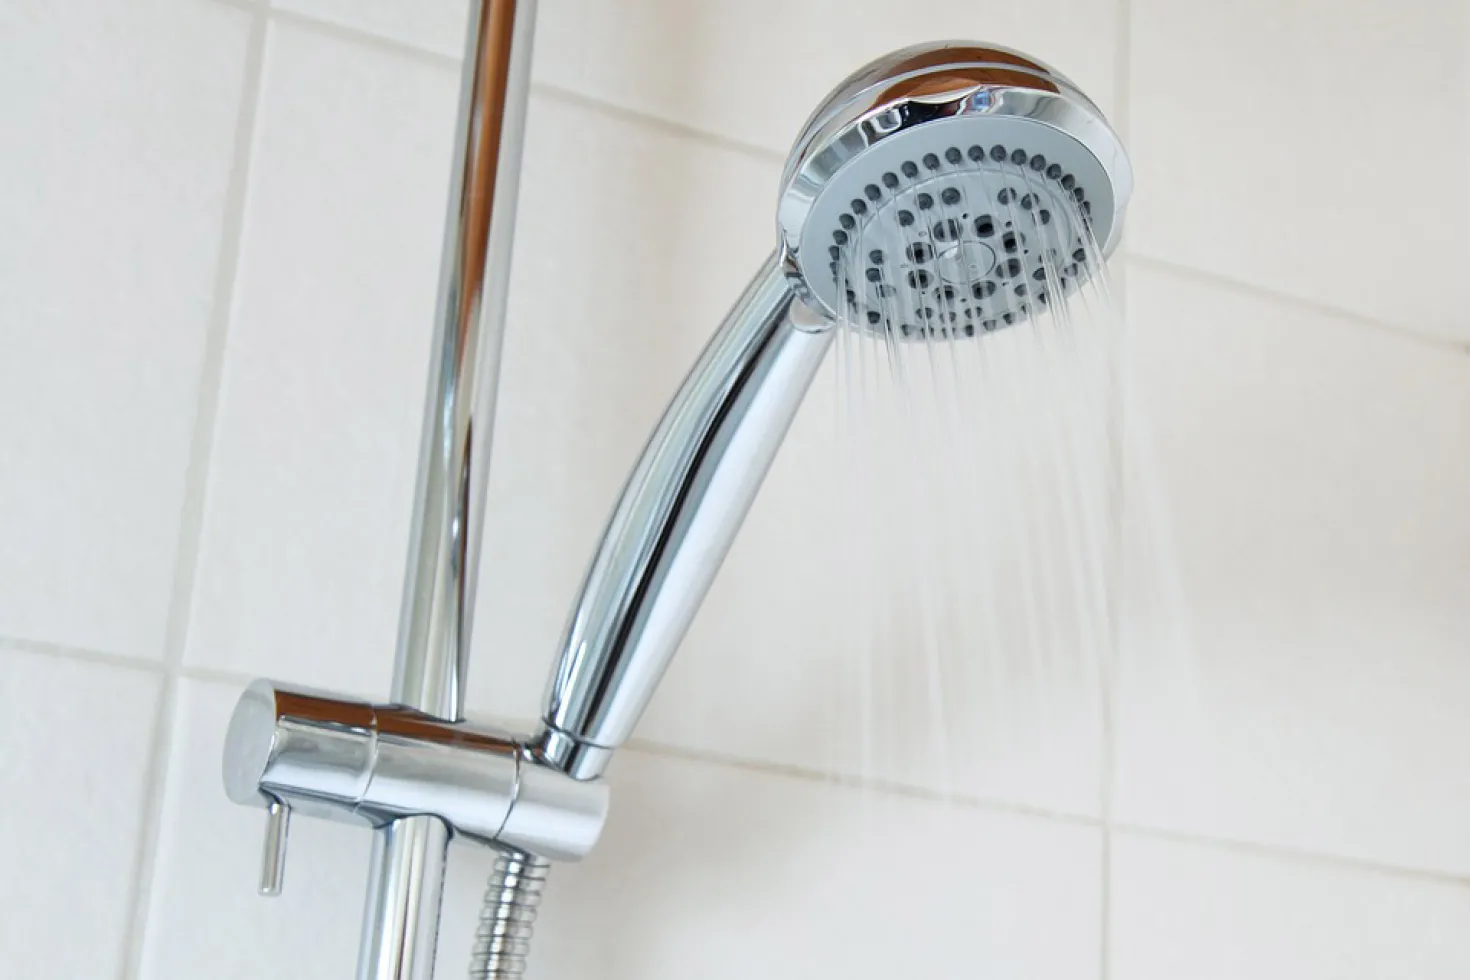
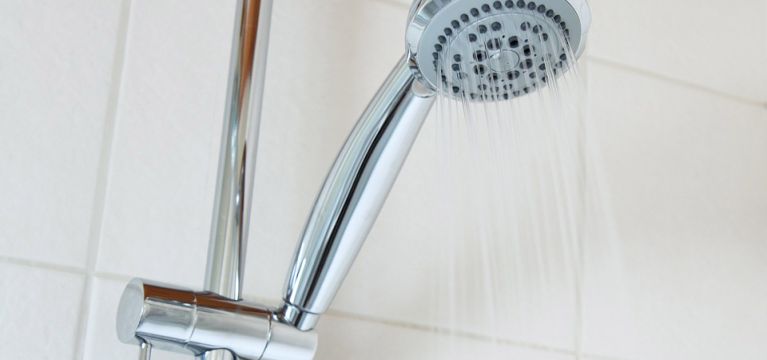
Thinking of fitting a new shower in to your bathroom? This can be a tricky job, take a look at the following steps to adding a thermostatic mixer shower with exposed valve
Thermostatic showers are the most versatile choice of shower as they can be added to homes with different water supply types. Thermostatic mixer showers include a temperature control bar and shower head and allow you to preset and choose your perfect shower temperature by mixing both hot and cold water as you choose.
What you will need:
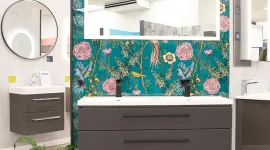
Need more advice and expertise on your bathroom designs? Visit our Bristol Bathroom Showroom where our experts can help you create your new bespoke bathroom with our Planning & Design Service
Step 1 – Water Supply
You will first need to source the hot and cold water supplies from existing piping. If you are fitting your shower over a bath you can simply take from the bath tap supplies, however if you are fitting in an enclosure, just tee in to the nearest pipes available.
Once you have sourced your water supply, make sure to isolate the supply before starting any work. Do this by switching off the stopcock and running the taps to get rid of any excess water still in the pipes.
Next, tee in to the water supplies and run the pipework towards the shower – make sure the hot and cold supplies are run to the right sides of the valve (usually hot on the left, cold on the right). Add the shut off valves as close to the shower as possible.
Step 2 – Pipe Work
Add a section of copper pipe to the end of the plastic pipe runs and add the plastic stop ends. Next, turn the stopcock back on and check the pipes for any leaks.
You will also need to flush the new pipes to remove any dirt from the water. Do this by turning off the water and removing the stop ends. Turn the water back on to flush the water through and then, finally, turn back off.
Next, place the shower valve where you will be fixing it to the wall and mark out the amount of outlet pipe needed for it to fit flush to the wall. Cut both pipes to the length needed using the pipe cutters.
Step 3 – Fitting the Valve
Mark where the holes for the valve will go on the wall and drill. (Make sure you are using a suitable drill for the wall surface). Add a collapsible olive in to the inlets of the valve and secure.
Next, align the valve with the supply pipes and ensure they slide fully in. Screw the valve to the wall tighten using a spanner.
Finally, turn the stopcock on to check pipes for leaks.
Step 4 - Fitting the Shower and Riser Pipe
It is now time to fit the rest of your shower kit. Some showers carry water from the valve through a flexible hose (where the shower head can be detached) or through a solid riser pipe (where the shower head is fixed)
For a shower with flexible hose – connect the hose and fit the bracket that holds it.
For a riser pipe – it will need to be at the right length to fit your shower and may need cutting down. To do this: First, measure the depth of the recess where the pipe sits on the valve and on the bracket that secures the riser,
Next, use double sided tape to place the top bracket at the height you want it above the valve. Measure between the bottom of this bracket and the valve’s top mounting nut.
Once you have these two measurements – cut the riser pipe to the length required and test it fits between the valve and bracket using a spirit level for accuracy.
Next you can, mark off the holes needed for the top mounting bracket, drill, plug and fit the riser pipe – securing by tightening the top and bottom nuts.
Step 5 - CHECK!
Once your shower kit is fitted and secure, turn the stopcock back on and run the water – inspecting for any leaks. Make sure to check the thermostat is working by turning the hot and cold taps to make sure the water runs at constant temperature.
Need more advice and expertise on your bathroom designs? Visit our Bristol Bathroom Showroom where our experts can help you create your new bespoke bathroom with our Planning & Design Service
A shower provides an eco-friendly alternative to baths. It saves energy and water and is also space saving in a small bathroom. Something that will...
Planning to install your own toilet? Here’s a simple DIY guide on how to fit a toilet in your new bathroom renovation. We do always recommend...
Gardiner and Sons Co Ltd registered address Gardiner Haskins, 1 Straight Street, Broad Plain, Bristol, BS2 0FQ, registered in England.
Company registration number: 00039402 VAT no. GB302974367